-

Now available for $24.95 including shipping. -

Now available for $21.00 including postage. Vendors I Like
 Click Here to buy from Cobrahead
Get Ready to Start Seedlings Indoors
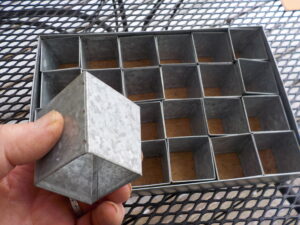
Metal planting cells from Gardeners Supply
Gardeners Supply Company has been offering ways of reducing single-use plastics like those 6-packs sold everywhere. They have sturdy reusable plastic trays for seed starting which have been available for a few years. This year they came out with metal seed starting trays.
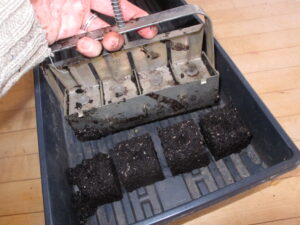
Making soil blocks with a simple press
If you don’t mind extra work and lots of mess, you can make soil blocks using a little metal press that produces 2-inch soil blocks. The mixture includes peat humus, compost, soil, blood meal and minerals. E-mail me for more info about the process.

Plastic caps keep seeds from drying out
Most seeds will wake up and grow more readily if you place them on a warm base. Electrical seed-starting mats are great for that, but not really necessary. I use them for things that specify warmer temperatures, like the flower Lisianthus, and for hot peppers.
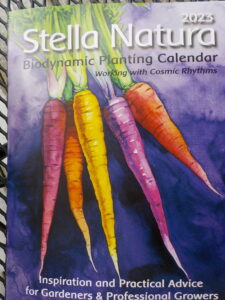
The Stella Nataura calendar gives planting times based on celestial rhythms
You can contain moisture by buying and using clear plastic covers for your flats of seedlings. They are inexpensive and reusable. Take them off after everything has germinated, or most things.
Getting the Vegetable Garden Ready
I talked to a gardening friend who has already started planting a few things in his vegetable garden. Not me! Despite a few warm sunny days, it is way too cold and wet in my garden to do much of anything. Seeds will rot in cold, wet soil. Here’s what I’m doing – or not doing.
Technically, spring is here, but the soil temperature in my garden is in the thirties, even when the air gets into the fifties or warmer. We need consistently warm temperatures before I will plant outdoors because it takes time to warm up the soil. I want the soil to reach 50 degrees or warmer before I plant.
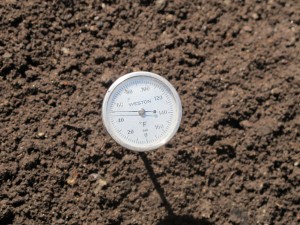
Soil thermometer
Yes, I take my soil’s temperature, much as I would a sick puppy or a child trying to avoid school. I have a thermometer that looks like an old analog oven thermometer: a steel probe with a round button with a dial on top that shows the temperature. Mine was designed for use in compost piles, so the probe is a couple of feet long. You can look at your local garden center, or order one from Gardeners Supply Company (www.gardeners.com) in Burlington, VT.
I’m not ready to rake off the leaves I spread on my vegetable beds last fall. In October I weeded my vegetable garden and then covered it with 4 to 6 inches of leaves that I’d run over with the lawnmower and raked up. The leaves kept the soil from washing from my mounded raised beds into the walkways (the beds don’t have planks to contain the soil).
Unfortunately, the layer of leaves is also an insulator, so the soil will stay colder than bare soil until I remove it. But the leaves inhibit weeds from growing, too. That’s a good thing. Since my soil is still pretty soggy, I don’t want to walk in the garden or disturb the soil.
Soil is actually a bit fragile at this time of year – step on it (or rototill it) and you can ruin its structure. So the leaves keep weeds from growing until I rake them off in late April or early May.
Once the leaves are off the beds and raked into the pathways, two kinds of weeds will grow: annual weeds and perennial weeds like dandelions and witch grass. Annual weeds grow from seeds and are easy to kill: you can run a sharp hoe just below the surface, slicing off the tops from the roots. That will kill annual weeds when they are small.
If you don’t get around to hoeing your beds and the weeds are well established, you could toast them! That’s right, cover a bed with clear plastic, seal the edges with soil, and in just a day or two of hot sunshine, they will be toast. I’ve measured the temperature in a bed being solarized, and on a 60-degree day, the temperature got over 100 degrees.
Perennial weeds need to be pulled. Their roots contain stored energy from last year, and generally even a scrap of root can regenerate and start a new plant. That is one of the reasons I don’t recommend rototilling. Chop up witch grass roots and each piece with a node will produce a new plant if it is within a few inches of the soil surface. It’s true that plowing a field and turning the sod under a foot of soil will kill most grasses, but that’s different than rototilling.
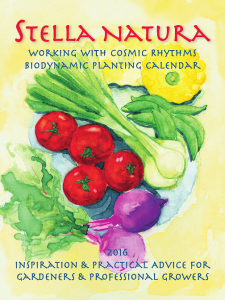
Stella Natura 2016 cover
Meanwhile, indoors, it’s almost time to start planting. Generally I recommend starting most things 6 to 8 weeks before I put them outside. I plant tomatoes outdoors in early June. So April 10 is my planting date most years. I use a biodynamic calendar called Stella Natura (www.stellanatura.com) to advise me about planting dates. It uses the planets, stars and the moon to determine good times for planting fruits (tomatoes and peppers), roots (carrots and potatoes), flowers (artichokes and cauliflower) and leaves (lettuce and kale).
This year April 10th is a root day, but the two days before, according to Stella Natura, are fruit days up until 2pm on April 9th. At that point there is a blackout period until 6pm, and I will definitely not plant anything then. My informal experiments with blackout days have shown me that there is a significant disadvantage to planting then.
So what should you do if you didn’t weed and prepare your beds last fall? Start weeding, a little every day, as soon as your beds dry out. An easy way to see if your soil is ready to work is to grab a handful of soil and squeeze it. Hold that ball of soil, and tap it with a finger. If the soil is ready to work, it should crumble. If not, wait.
And when your soil is ready to work, think about creating some mounded, raised beds. You can do this by loosening the soil with a garden fork, then raking the loose soil into beds that are about 3 feet wide and stand up 4 to 6 inches above the walkways. Add a thick layer of compost on top, and scratch it into the soil at the top surface, and you’ll be ready to plant.
We all want to start gardening now, but do wait until your soil is as ready as you are!
Read Henry’s blog by going to https://dailyuv.com/
Transplanting Tomato Starts
This year I started my tomatoes indoors much earlier than I usually do. Normally I start them on April 10 at 10:14. Only kidding. I start them, most years, during the second week of April. That way they are well established by the time they are planted outdoors 8 weeks later – but not crowding the root space provided by a standard flat.
But this year I started most on March 24, 3 weeks earlier. Why? Because the winter was so long and harsh I was ready to see little green things growing under lights – and was willing to take on the responsibilities of nurturing them. But this year I will have to transplant my seedlings into 3-inch pots in May to avoid root crowding.
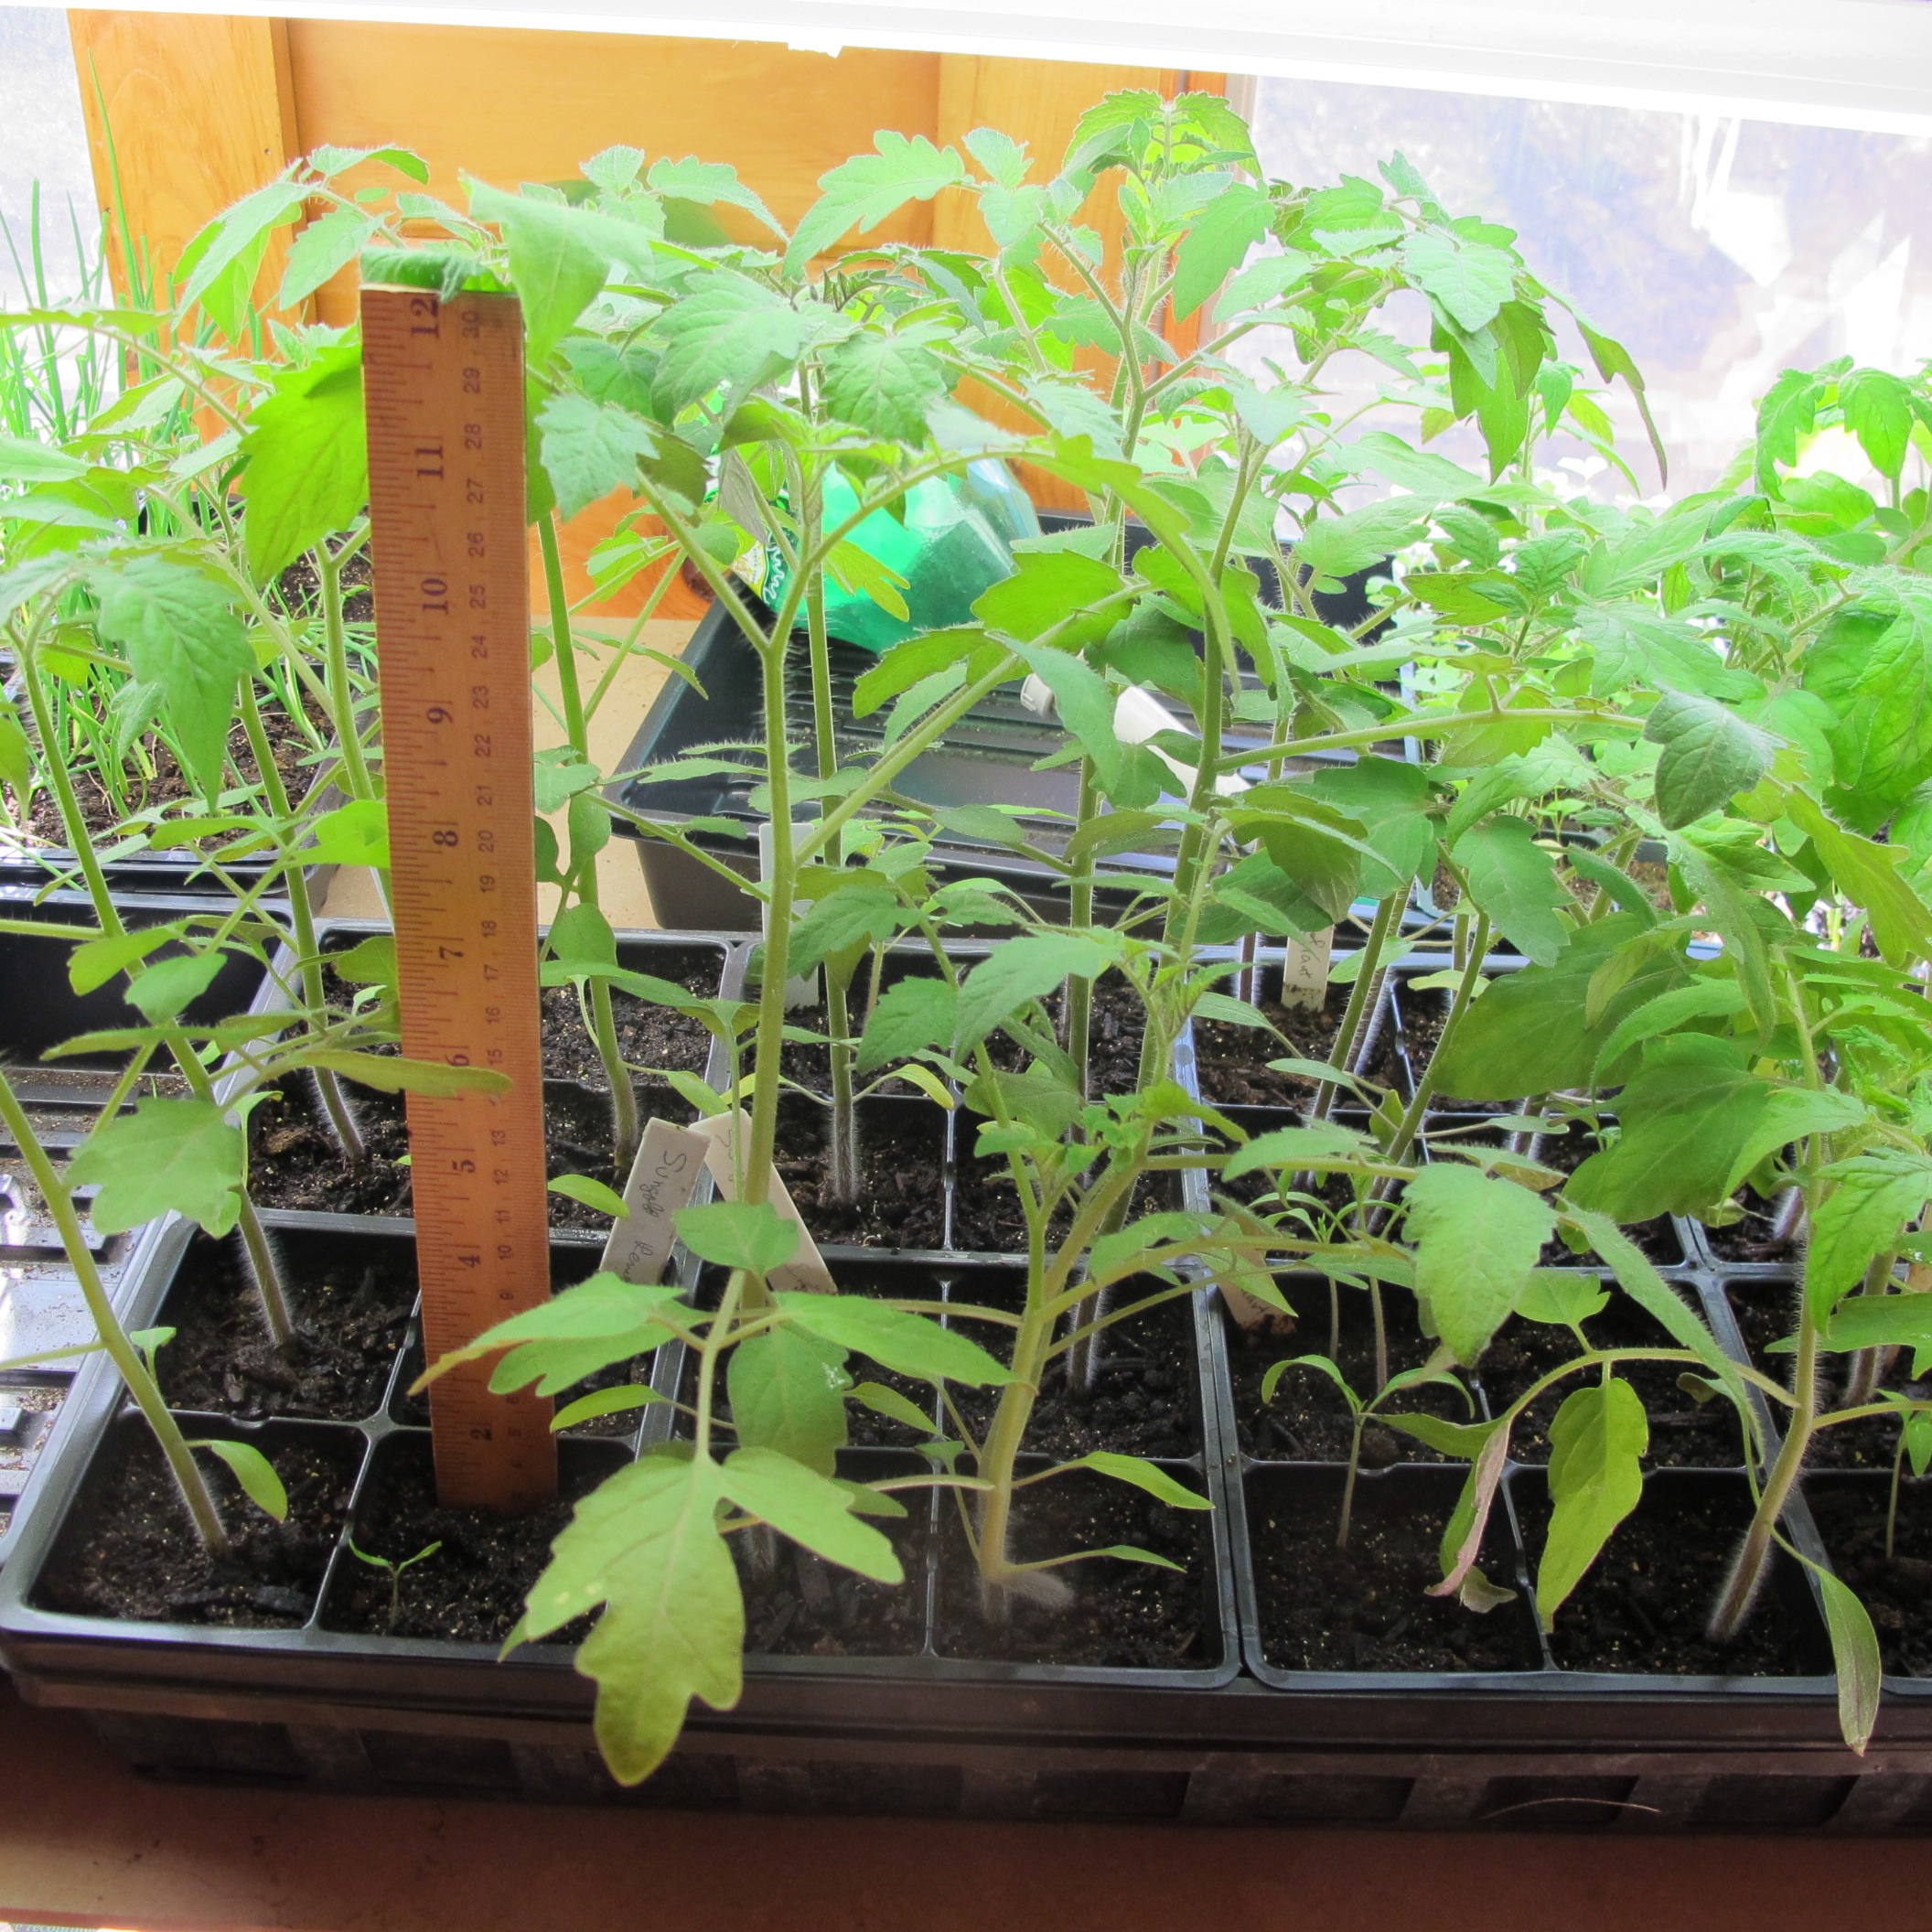
Tomato seedlings ready for bigger pots
I will pick a date for transplanting according to the Stella Natura calendar (www.stellanatura.com). This is a biodynamic planting calendar that is “supported by lunar and planetary rhythms”. For each day of the year, and every hour, the calendar designates one of 5 categories: good for working with or planting flowers, fruit, roots, leafs, or none of those – a “black-out day”. I will pick a fruit day for my transplanting .
I’ve done just a little testing of the recommendations of the Stella Natura calendar, but enough so that I feel obliged to follow it. Probably you have had times when you planted seeds and got a bad germination rate. I have. I blamed the seeds – or my planting technique. But a few years ago I tried planting a 6-pack of lettuce on a leaf day, and then again the following day, which my biodynamic calendar indicated was a blackout day. The first lettuce germinated at close to 100%, while the second at considerably less than 50% and many of the plants that grew were stunted or died. Same soil mix, same temperatures, same watering. So now I follow the calendar – at least as far as avoiding the black out days.
According to the calendar, “scientific studies showing that plant metabolism, growth rate and water absorption tend to peak around full moon. …The full moon enhances germination. Sow seeds 2 or 3 days before the full moon to receive its optimal drawing power”.
It’s important, when transplanting seedlings to bigger containers, to use a planting mix that is warmed indoors for a day or so. Potting mix coming right from the barn might be chilly enough to shock tender little roots. I use a 2 quart juice pitcher and measure out 10 quarts of commercial seed-starting or potting mix and 10 quarts of compost in a plastic recycling bin.
I stir in a cup of Pro-Gro or other organic fertilizer and a cup of Azomite or other rock powder, then moisten the mixture enough so that the dryness of the commercial potting mix, which contains peat moss or coir, is overcome. Then I let it sit for a day or more to warm up indoors.
Azomite is a rock powder mined in Utah that contains 70 naturally occurring minerals and trace elements harvested from a layer of volcanic ash that was later inundated with sea water. Although I do not have scientific proof of its ability to improve growth and vigor of plants, I have done some informal experiments with rock powders, and believe that they help.
If you use the same plot every year for decades, as I have, trace minerals of the soil may well get used up, so adding a wide variety of minerals makes sense to me. I add Azomite or finely ground granite powder to increase mineral diversity in my planting mix and also in my soil.
I re-use plastic pots each year, and believe it is a good practice to clean them before re-using. I wash them in the sink with soapy water, or sometimes fill the top shelf of the dishwasher to clean them. This helps to eliminate any bacterial residues that might not be good for my seedlings.
Also key to success with indoor seedlings is a good light source. I use ordinary fluorescent lights that I hang over my seedlings. I keep them about 6 inches above the seedlings, Light intensity diminishes exponentially with distance. My lights hang on chains, and I raise the lights as the seedlings grow. I have the lights on a timer so they are on just 14 hours a day. Little plants need rest, too.
Don’t keep your seedlings too warm. Sixty-five degrees is good for the day time, but leave a window ajar at night to let temperatures drop to 55 degrees – though I admit that don’t do that most nights.
Growing seedlings from seed requires some work, but I do it every year because I love tending my seedlings. I save money doing it, and can grow plants I would never find for sale at a garden center, too.
Henry Homeyer can be reached at P.O. Box 364, Cornish Flat, NH 03746. Please include a self-addressed, stamped envelope if you want a question answered by mail. Henry’s e-mail address is henry.homeyer@comcast.net. His website is www.Gardening-Guy.com.