-

Now available for $24.95 including shipping. -

Now available for $21.00 including postage. Vendors I Like
 Click Here to buy from Cobrahead
Saving Seeds from Heirloom Vegetables
As a boy in the 1950’s I knew there were two kinds of tomatoes: deep red, plump and tasty ones my grandfather grew, and the kind that came four in a package wrapped in cellophane. The Cello-Wraps, as I think of them, had no flavor whatsoever. They were decorative. Sliced and added to our iceberg lettuce salads in winter, they added color. I suppose my mom thought they added some vitamins, too, but I doubt they contributed much.
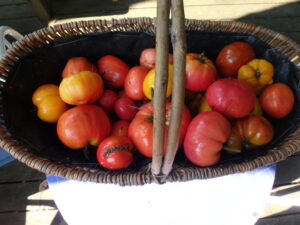
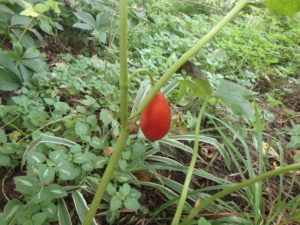
Heirloom tomatoes are often irregular in size and shape but they are tasty and you can save seeds for the next year
My grandfather saved seeds from his tomatoes and started plants indoors in the early spring. He was not growing hybrid tomatoes like those sold in the supermarket. Hybrid tomatoes are carefully bred by crossing specific varieties of tomatoes so that they will have special characteristics such as surviving long trips in trucks, having a shelf life almost as long as a tennis ball, or resisting certain diseases. But those are not suitable for seed saving – most of their seeds will produce mongrels, not the variety you grew.
My grandfather grew what we now call heirloom tomatoes: time-tested varieties that breed true from seed, generation after generation. Tomatoes that had been grown for many decades, seed shared with family and friends. Tomatoes so tasty that they were often eaten right in the garden, warm from the sun.
Examples of well-known heirloom tomatoes include Brandywine (often touted as the best flavored tomato in existence), Cherokee Purple, Mortgage Lifter, Amish Paste and Black Krim. But there are hundreds of varieties of heirloom tomatoes. Each unique and loved by someone. Many have now disappeared – once a variety is lost, it cannot be brought back unless someone has saved the seeds so they can be grown again.
All heirloom vegetables are what are called “open pollinated” meaning that they will produce the same variety every year. Of course, in a packet of seeds some will produce better fruits than others. There is variety, but all Brandywines will take about the same length of time to reach maturity and taste about the same.
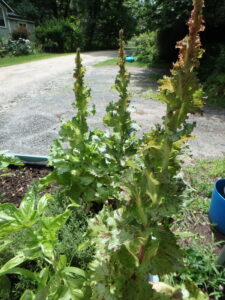
Once lettuce bolts like this it will flower and produce seeds you can save
If you would like to start saving seeds, read the seed packet or catalog and make sure what you buy is labeled open-pollinated or heirloom, not hybrid. At the end of the season, save some seeds and store them in a cool, dry, dark place, perhaps in a sealed jar in a refrigerator. Then start them the following spring.
I called Sylvia Davatz, the now-retired founder of Solstice Seeds in Hartland, Vermont to talk about saving seeds. Solstice Seeds only grows and sells seeds from heirloom varieties including some varieties from Europe.
She gave me lots of good advice, starting with the names of two good books on seed saving: The Seed Garden by Lee Buttala and Sharyn Seigel, and The Manual of Seed Saving by Andrea Heistinger. She recommends getting both books if you are going to be serious about saving seeds as even among experts there are differences of opinion. These books will tell you all you need to know.
One of the reasons for having good books about seed saving is that they will advise you about such things as isolation distances to prevent mixing genetic material by pollinators or wind.
I asked Sylvia what vegetable species are the easiest to save. She said tomatoes, lettuce, beans and peas are all easy. They are self-pollinated and annuals. No insects are needed, and seeds are ready by the end of their season.
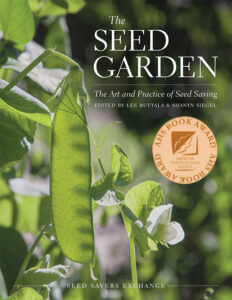
The Seed Garden
Vine crops like squash, pumpkins and cucumbers are insect pollinated and more difficult. If you’ve ever let a “pumpkin” grow in your compost pile from last year’s crop, you know that sometimes you get weird things due to cross pollination – a pumpkin crossed with a summer squash by a bee, for example, may not be something you want to eat.
Most difficult in our climate are the biennials, things like carrots, beets, parsnips and parsley. These plants have to be kept alive all winter so they can flower and set seeds in their second year. You can dig up carrots and store them in soil in a bucket in a cold basement and re-plant them in the spring. But carrots, Sylvia explained to me, bloom about the same time as Queen Anne’s lace, a biennial wild flower/weed that can be pollinated by them – which would not produce the carrots you want.
Sylvia pointed out that in the not-to-distant past, seed saving was the norm. Farmers and gardeners saved seeds from their best plants, knew how to do so, and how to store them. She explained that the seeds you save will usually be of better quality than seeds from a packet. They will have more vigor and a longer life span.
A good source for heirloom seeds is The Seed Savers Exchange. It has, since 1975, collected and stored seeds from gardeners and farmers. You can join their non-profit or just buy some seeds or books from them. According to their website, they now store some 20,000 varieties in their collection, although at any given time only a fraction of them are actually for sale.
So think about saving seeds this year – even if only a few from your favorite heirloom tomatoes. And go to www.solsticeseeds.org to see a wonderful 8 minute video of Sylvia Davatz explaining all the importance and benefits of seed saving.
Henry is the author of 4 gardening books and a lifetime organic gardener. He lives in Cornish Flat, NH. Reach him by e-mail at henry.homeyer@comcast.net
Fall Is a Good Time to Plant (Some) Seeds
Most of us think about planting seeds in the spring, but there are lots of plants that can be planted by seed now, especially wildflowers.
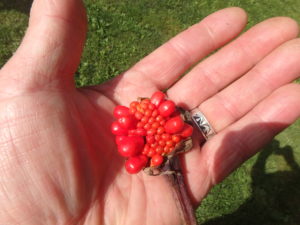
Jack-in-the-pulpit seeds
One of my favorite wildflowers is Jack-in-the Pulpit (Arisaema triphyllum). In the spring it produces a single well-hidden blossom beneath its large leaves. The plants are either male or female, and it is only the females that produce seeds. Right now in my woods and shade gardens the bright red seeds are visible in nice clumps and are ready to harvest and plant.
The seeds of Jack-in-the Pulpit contain calcium oxalate that can be an irritant to your skin. So you may want to wear latex gloves to handle the seeds. The easiest way to prepare seeds for planting it to put them in a blender with a cup of water and give them a quick whirl. The red mushy part comes right off, leaving clean white seeds. Once the seeds are clean and dry, they are fine to handle with bare hands. Removing the pulp on seeds removes compounds that inhibit seed germination.
Pat the seeds dry with a paper towel and plant immediately. Don’t let them dry out. I use my CobraHead weeder to loosen the soil, then place the seed on the surface and lightly cover with soil and forest duff. Next spring each seed will produce just a single round leaf, and it will be 3 years before a plant will blossom.
If you like eating ramps or wild leeks (Allium tricoccum), you should start a patch of your own. Go out now to the forest where you have harvested wild ones in the spring to see if you can recognize the plants and harvest seeds.
These tasty onion-family wildflowers show their leaves in early spring, then after the leaves die back they flower with dainty white clusters of blossoms just 5 inches above the ground. When the seeds turn black and the stems start to turn brown, they are ready to harvest in August to September. By now, most of my plants have dropped their seeds, but I found a few still good to pick this week.
I plant them by raking off the leaves of the forest floor, scratching the soil surface, and sprinkling the seeds. I pat the soil, and put leaves over the seeds. That’s roughly what Mother Nature would do (except the part about scratching the soil with a CobraHead weeder).
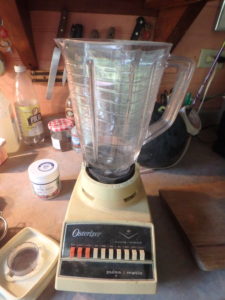
An old fashioned blender is good for cleaning seeds
Blue cohosh (Caulophyllum thalictroides) seeds are ready to harvest and plant now. I have one big clump that I transplanted a decade or more ago, and it has gotten bigger every year, but no new plants have shown up. This year I decided to get proactive. The deep blue seeds are ready to pick.
According to my wildflower bible, Growing and Propagating Wildflowers by William Cullina, what appears to be a berry is actually just a seed with the fruit being the extension of the seed coat. He advises removing that by cleaning in a blender or to ferment the seeds in water for a few days until it falls off. The advantage to the blender is that it will nick or scratch the hard seed coat, making germination easier. Like Jack-in-the-pulpit, blue cohosh will produce just one leaf the first year, as it uses its energy to develop its roots.
Other wildflowers that I am collecting seeds from now include Japanese mayapple (Podophyllum peltatum) and false Solomon’s seal (Smilacina racemosa). I bought my Japanese mayapple from The Fells, a nice non-profit garden and historic estate in Newberry, NH on Lake Sunapee. They offer a good variety of unusual plants each summer.
Japanese mayapple fruit with seeds
I particularly like the Japanese mayapple because, unlike our native mayapple, the blossoms appear above the foliage instead of hidden below the large leaves. By collecting and planting seeds I may be able to significantly increase my display with no added expense – so long as I have patience. Most wildflowers take 3 years from germination to flowering.
Wildflowers often require a period of “vernalization”. This means that they need a cold period between the time they are planted and when they germinate. This ensures they don’t start growing now, when winter is just around the corner.
Aside from wildflowers, this is a fine time to plant seeds from annual poppies and foxgloves. Just harvest the seed pods of poppies and check to see if they still have tiny black seeds – just tip a pod upside down and the seeds should fall out into your hand. I sprinkle them now, or in mid-winter, and they always produce some flowers the following summer.
At this time of year I often pick foxglove stems and shake them over bare soil where I would like more plants. Since foxgloves (Digitalis purpurea) are biennials, it’s a two-year process. Next year a few of the hundreds of seeds I disperse will produce rosettes of leaves, and the following year they will flower.
Starting flowers by seed does take patience, and knowledge about how and when to do it. For more on the techniques and requirements of growing wildflowers I highly recommend Bill Cullina’s book, mentioned above. He notes that you should be careful not to harvest too many seeds of rare wildflowers, just gather a few. Good luck!
Henry is the author of 4 gardening books and is a UNH master Gardener. His e-mail is henry.homeyer@comcast.net.
What I Learned Last Summer
As I calculate it, I’ve been gardening for 66 years – or at least hanging out in gardens. I have memories of being in the garden with my grandfather, John Lenat, when I was three. Technically I was “helping” Grampy, though my role was probably limited to things like tossing weeds into his wheelbarrow if the weeds missed the wheelbarrow when he threw them. Still, I’ve spent a lot of time in the garden since then. And each year I still learn plenty in the garden. Let’s look at what I learned this year.
I haven’t grown sweet corn often, but these last two years I’ve had the use of a farmer’s field to grow corn, potatoes, watermelons, pumpkins and more. It’s been great fun to have pretty much unlimited space for growing anything I want – and enough space to grow food to give away. So I grew sweet corn.
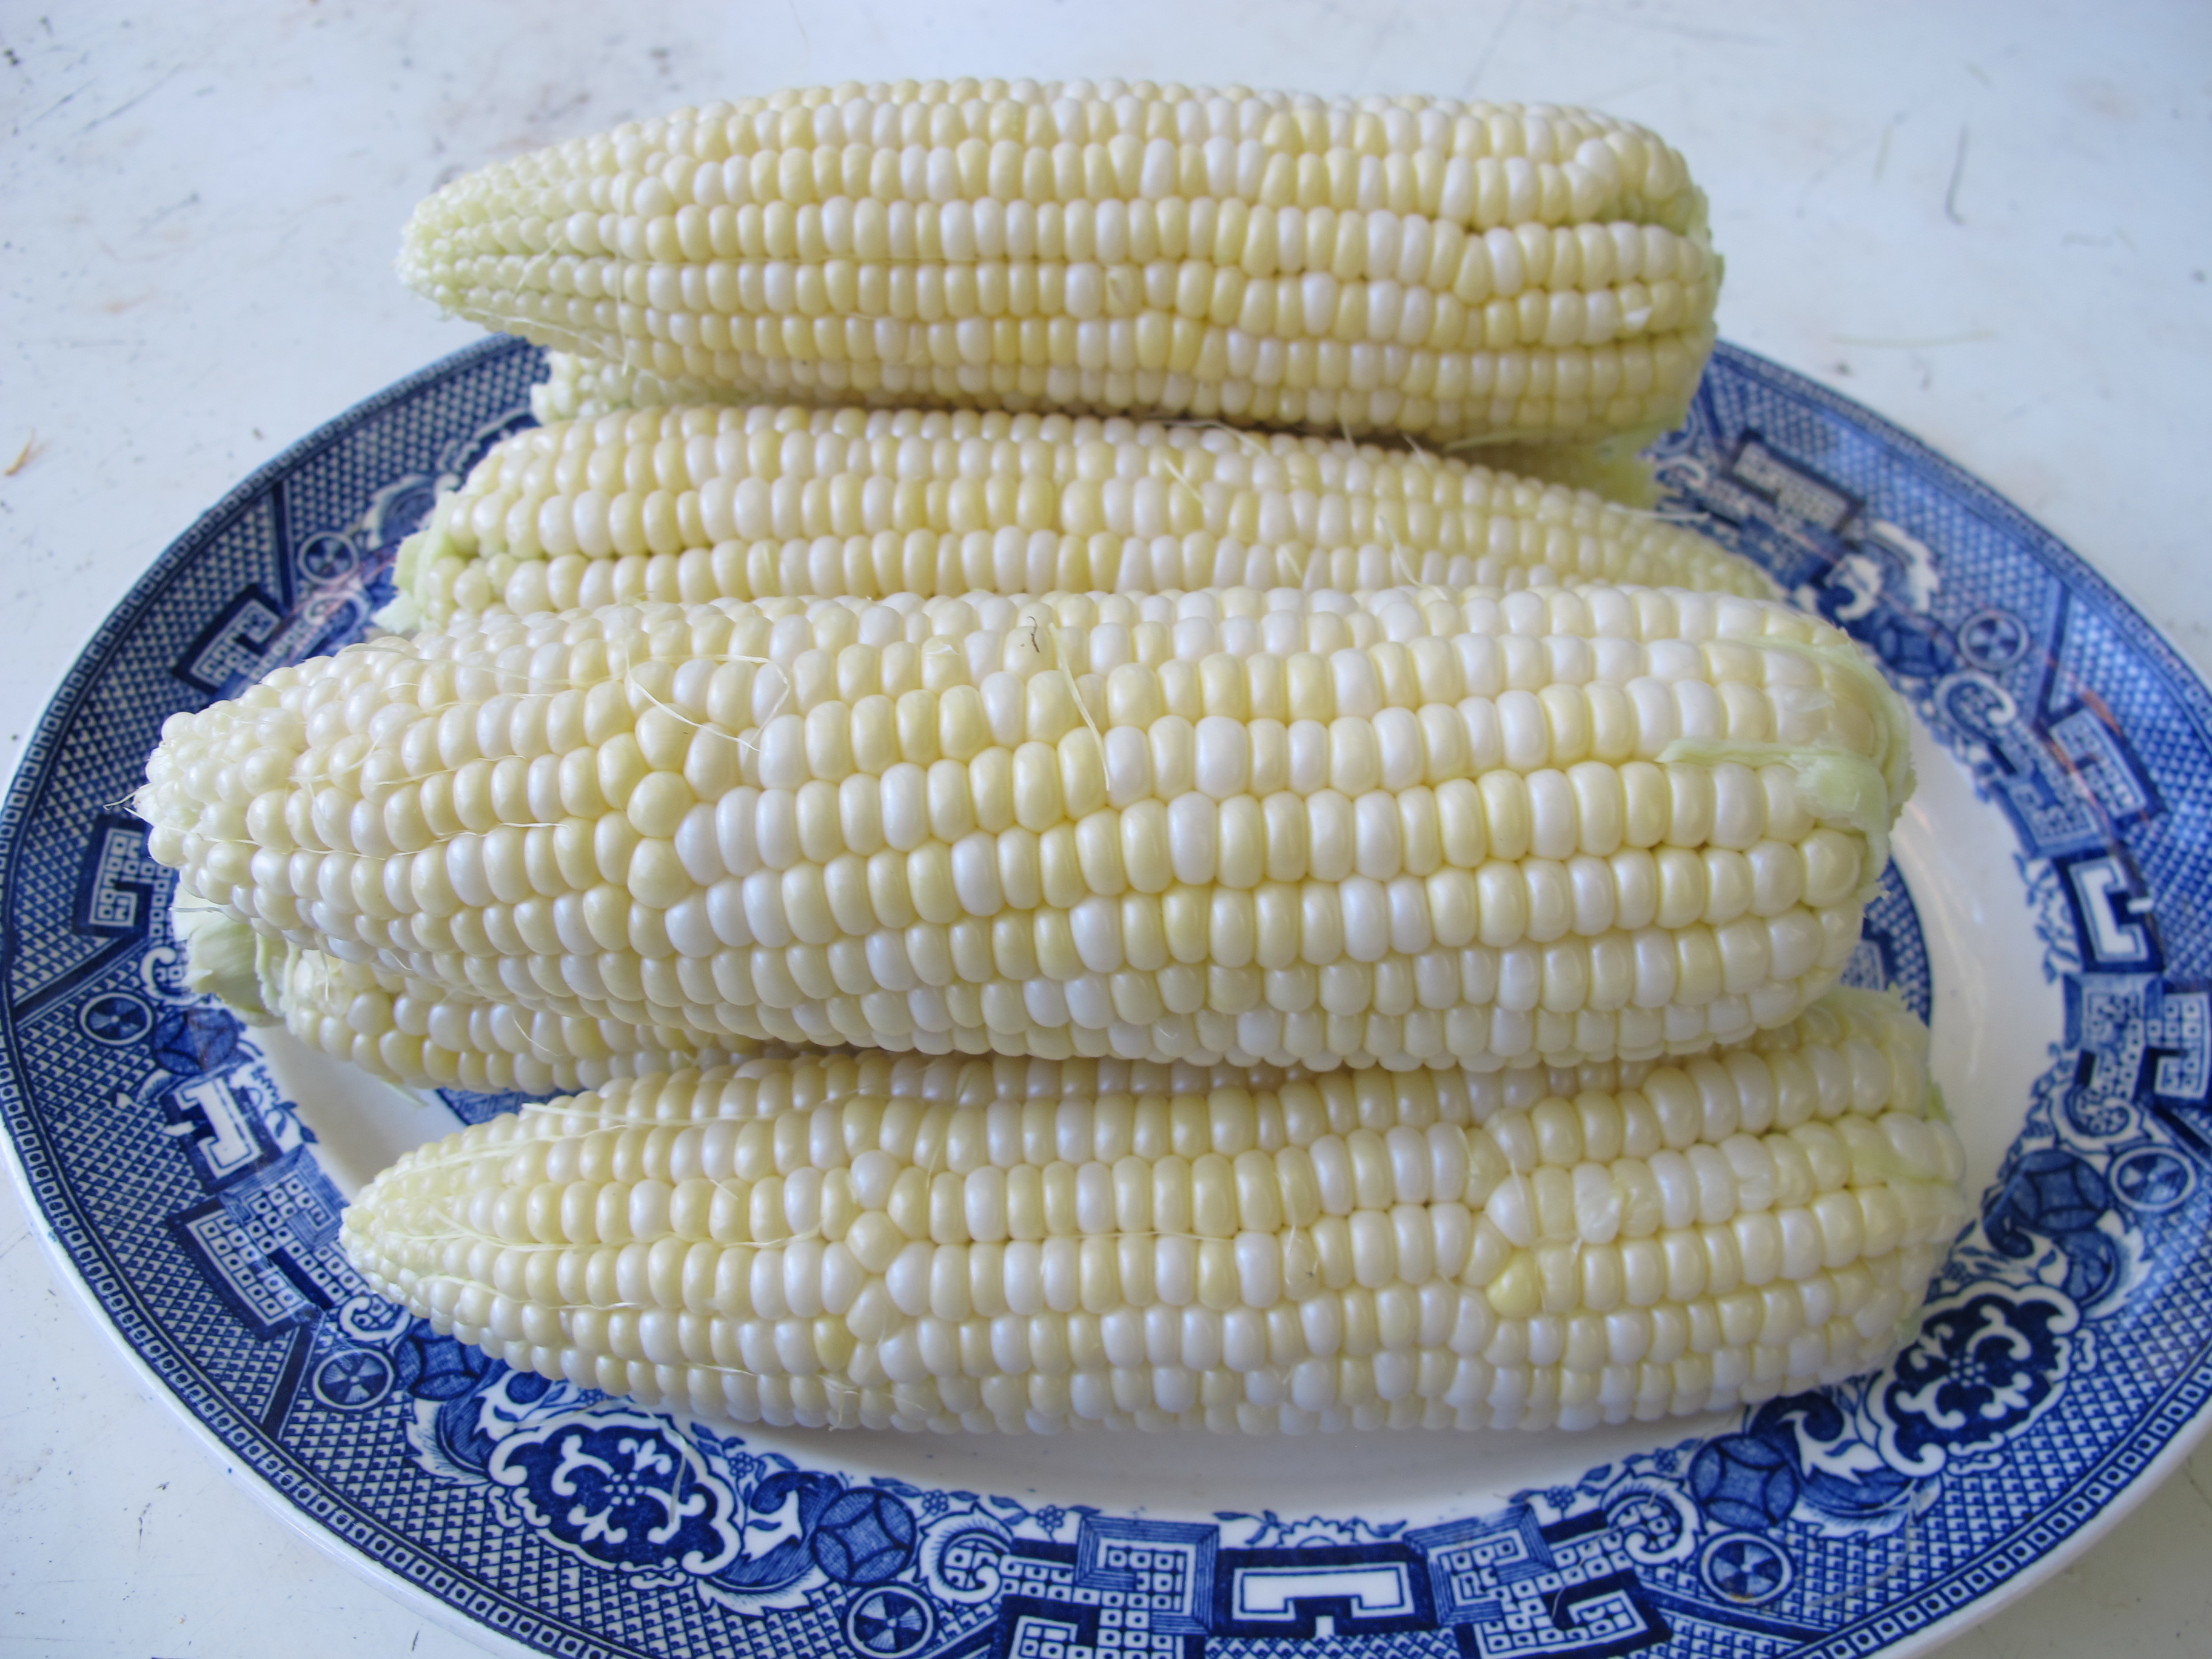
Organic Corn from my Garden
Farmers say corn is a “heavy feeder” and they give it plenty of nitrogen, one of the three nutrients found in chemical fertilizers. Nitrogen drives green growth and makes plants get big, fast. Inadvertently I did an experiment with my corn: half got supplemental nitrogen, half did not. It wasn’t a planned experiment: I had some bagged organic fertilizer, one called Pro-Gro, and gave it half my corn. Then I ran out of fertilizer and said to myself, “This is good rich soil, I’m not going to go back home (6 miles from the field) to get more fertilizer. It’ll be fine.”
The difference was dramatic: the corn that got fertilizer was big and produced nice corn. The other? Scrawny with small ears barely worth picking. Even those dang raccoons ignored it, mostly.
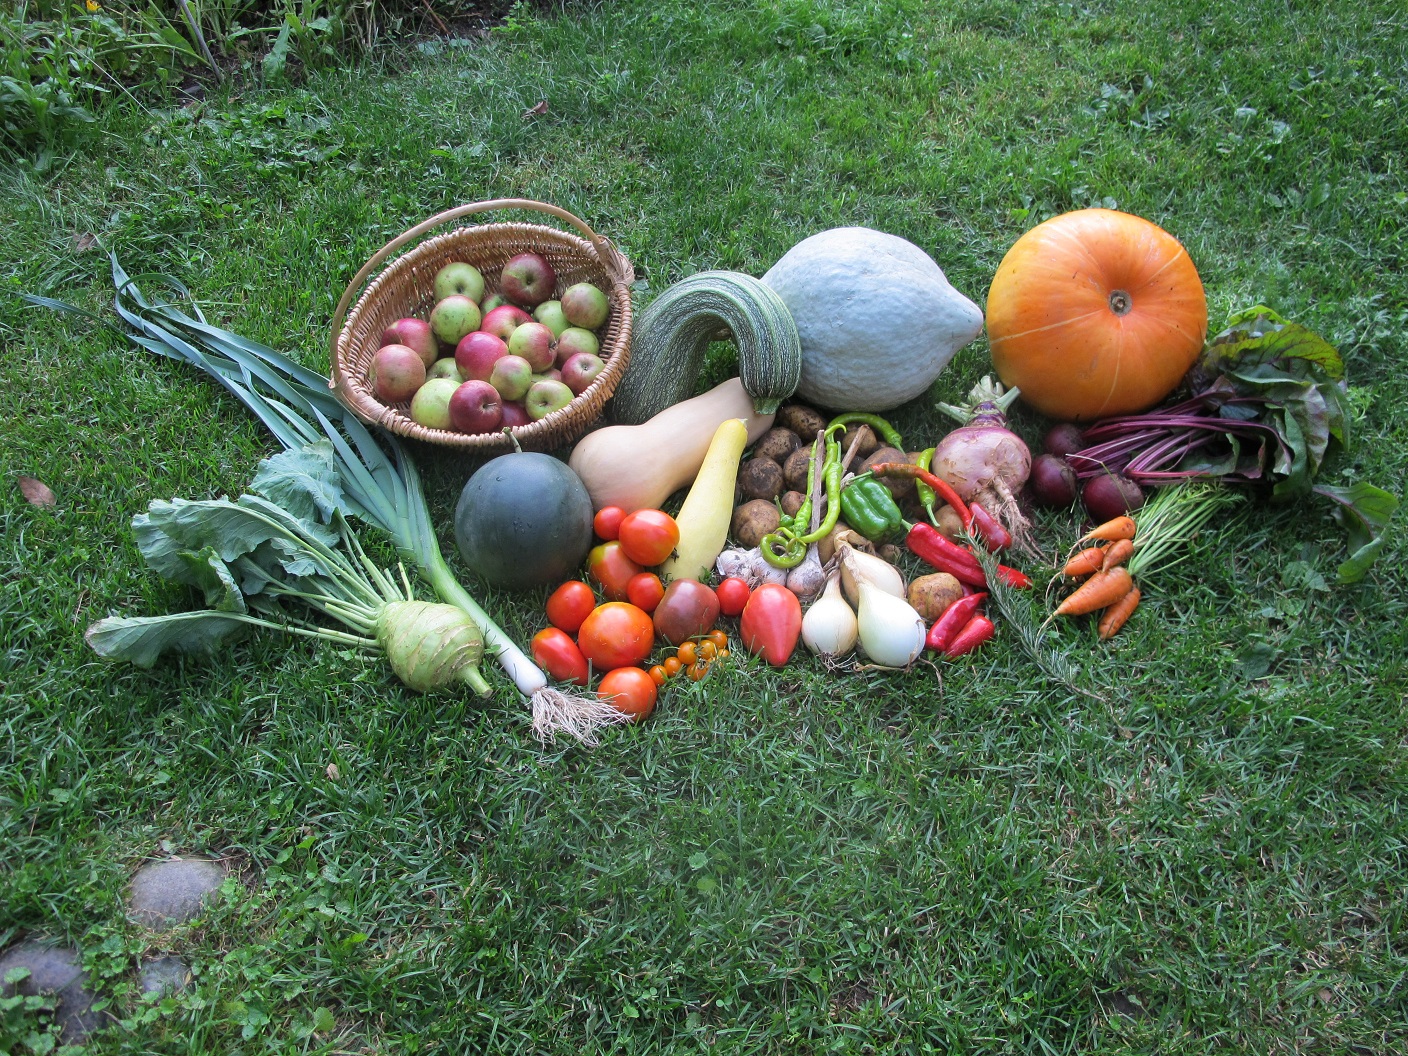
This year’s harvest, including watermelon
I had not grown watermelon in 30 years, as I had decided that I live too north to make it worthwhile. But our local farmstand grows nice small watermelons, and since I had the space, I decided to give some a try. I bought a 4-pack of plants in May, planted them in early June, and got a couple of watermelons from each plant.
Here’s what I learned: watermelons don’t take up so much space, or at least not the mini-melons. My melon sent out two vines each, and I directed them in opposite directions, running down the row. They grew up to 20 feet, but the leaves were relatively small, and they just went by other plants in the row without troubling them. That meant that I found melons in with the summer squash, but I didn’t mind.
Deciding when to pick the watermelons was, at first, challenging. The variety I grew (probably one called ‘Sugar Baby’) produced nice 6- to and 8-inch watermelons. I was told by a local farmer that ripe watermelons should sound hollow when tapped. The first one I picked was pink inside, not red, and clearly needed more time on the vine. We ate it anyway. But I learned to be patient. Watermelons don’t go mushy if you don’t pick them, or get tough and bitter. They just get sweeter, and wait patiently for you. The rest were all wonderful, and I shall grow them again.
A friend visited Monticello last year, and bought me some seeds, including sesame seeds. I planted some indoors last spring, and planted them in the ground in early June. I remember from my Peace Corps days in West Africa that sesame was a big plant, so I left plenty of space for these. I didn’t need to. Mine got no taller than 2 feet tall, and each plant produced perhaps 50 small seed pods. If you want a supply of sesame seeds, you need lots of plants. I won’t bother to do it again.
This past winter I read that tomatoes produce better if you grow them without added fertilizer. In the past I’ve always added both compost and bagged organic fertilizer in each planting hole. This year I did not add fertilizer and, as predicted, did not get those 6-foot tall plants I am used to. I got smaller plants, but they produced smaller loads of tomatoes, too. Next year I will use fertilizer again – but maybe less than the handful I usually toss in the planting hole.
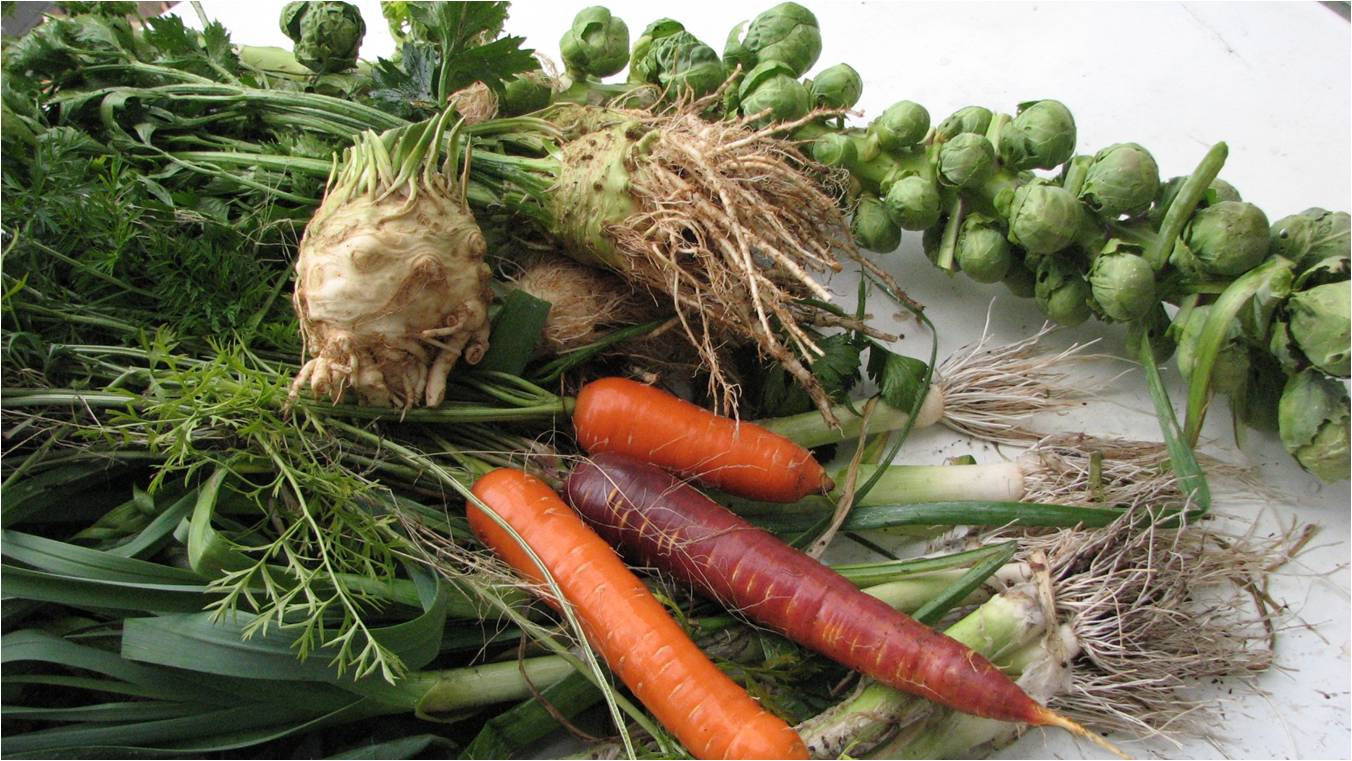
Celeriac with carrots and Brussels sprouts
I don’t normally grow celery. It tends to be tough, stringy, and attract slugs. Instead I grow celery root which is also called celeriac. Celeriac is a related plant that produces a big bulb-like root that tastes like celery when grated into soups and stews. I start it by seed in March, and grow it in full sun in soil that does not dry out.
This year I forgot to plant any seeds, so bought two 6-packs of started plants. But one of the 6-packs was celery, not celeriac. I didn’t notice the difference until mid-summer, as the leaves are similar. The celery was better than I had remembered: not the big stalks one finds at the grocery store, but reasonably sized and not too stringy. And the slugs? They ate some, but were not awful. What did I learn from this? Always start your own seeds if you want to be sure to get what you want.
Every year is different, and every year I learn from my mistakes and experiments. Maybe if I reach 100 years old I’ll know it all. I hope not!
Henry is a UNH Master Gardener living in Cornish Flat, NH. Reach him at henry.homeyer@comcast.net. His website is www.Gardening-Guy.com.